---
title: Configure ZITADEL as an OIDC Identity Provider on Cloudflare Zero Trust
sidebar_label: Cloudflare Zero Trust
---
import CreateApp from "../application/_application.mdx";
This guide shows how to configure ZITADEL as OpenID Connect identity provider for Cloudflare Zero Trust.
Prerequisites:
- Existing ZITADEL instance, organization, and project. Follow our [get started](/guides/start/quickstart) guide to get started. If not present follow [this guide](/guides/start/quickstart)
- Existing Cloudflare account and [team domain](https://developers.cloudflare.com/cloudflare-one/glossary/#team-domain)
## Create the application in ZITADEL
## Send user info in tokens
Make sure to enable "User Info inside ID Token" on your application settings.
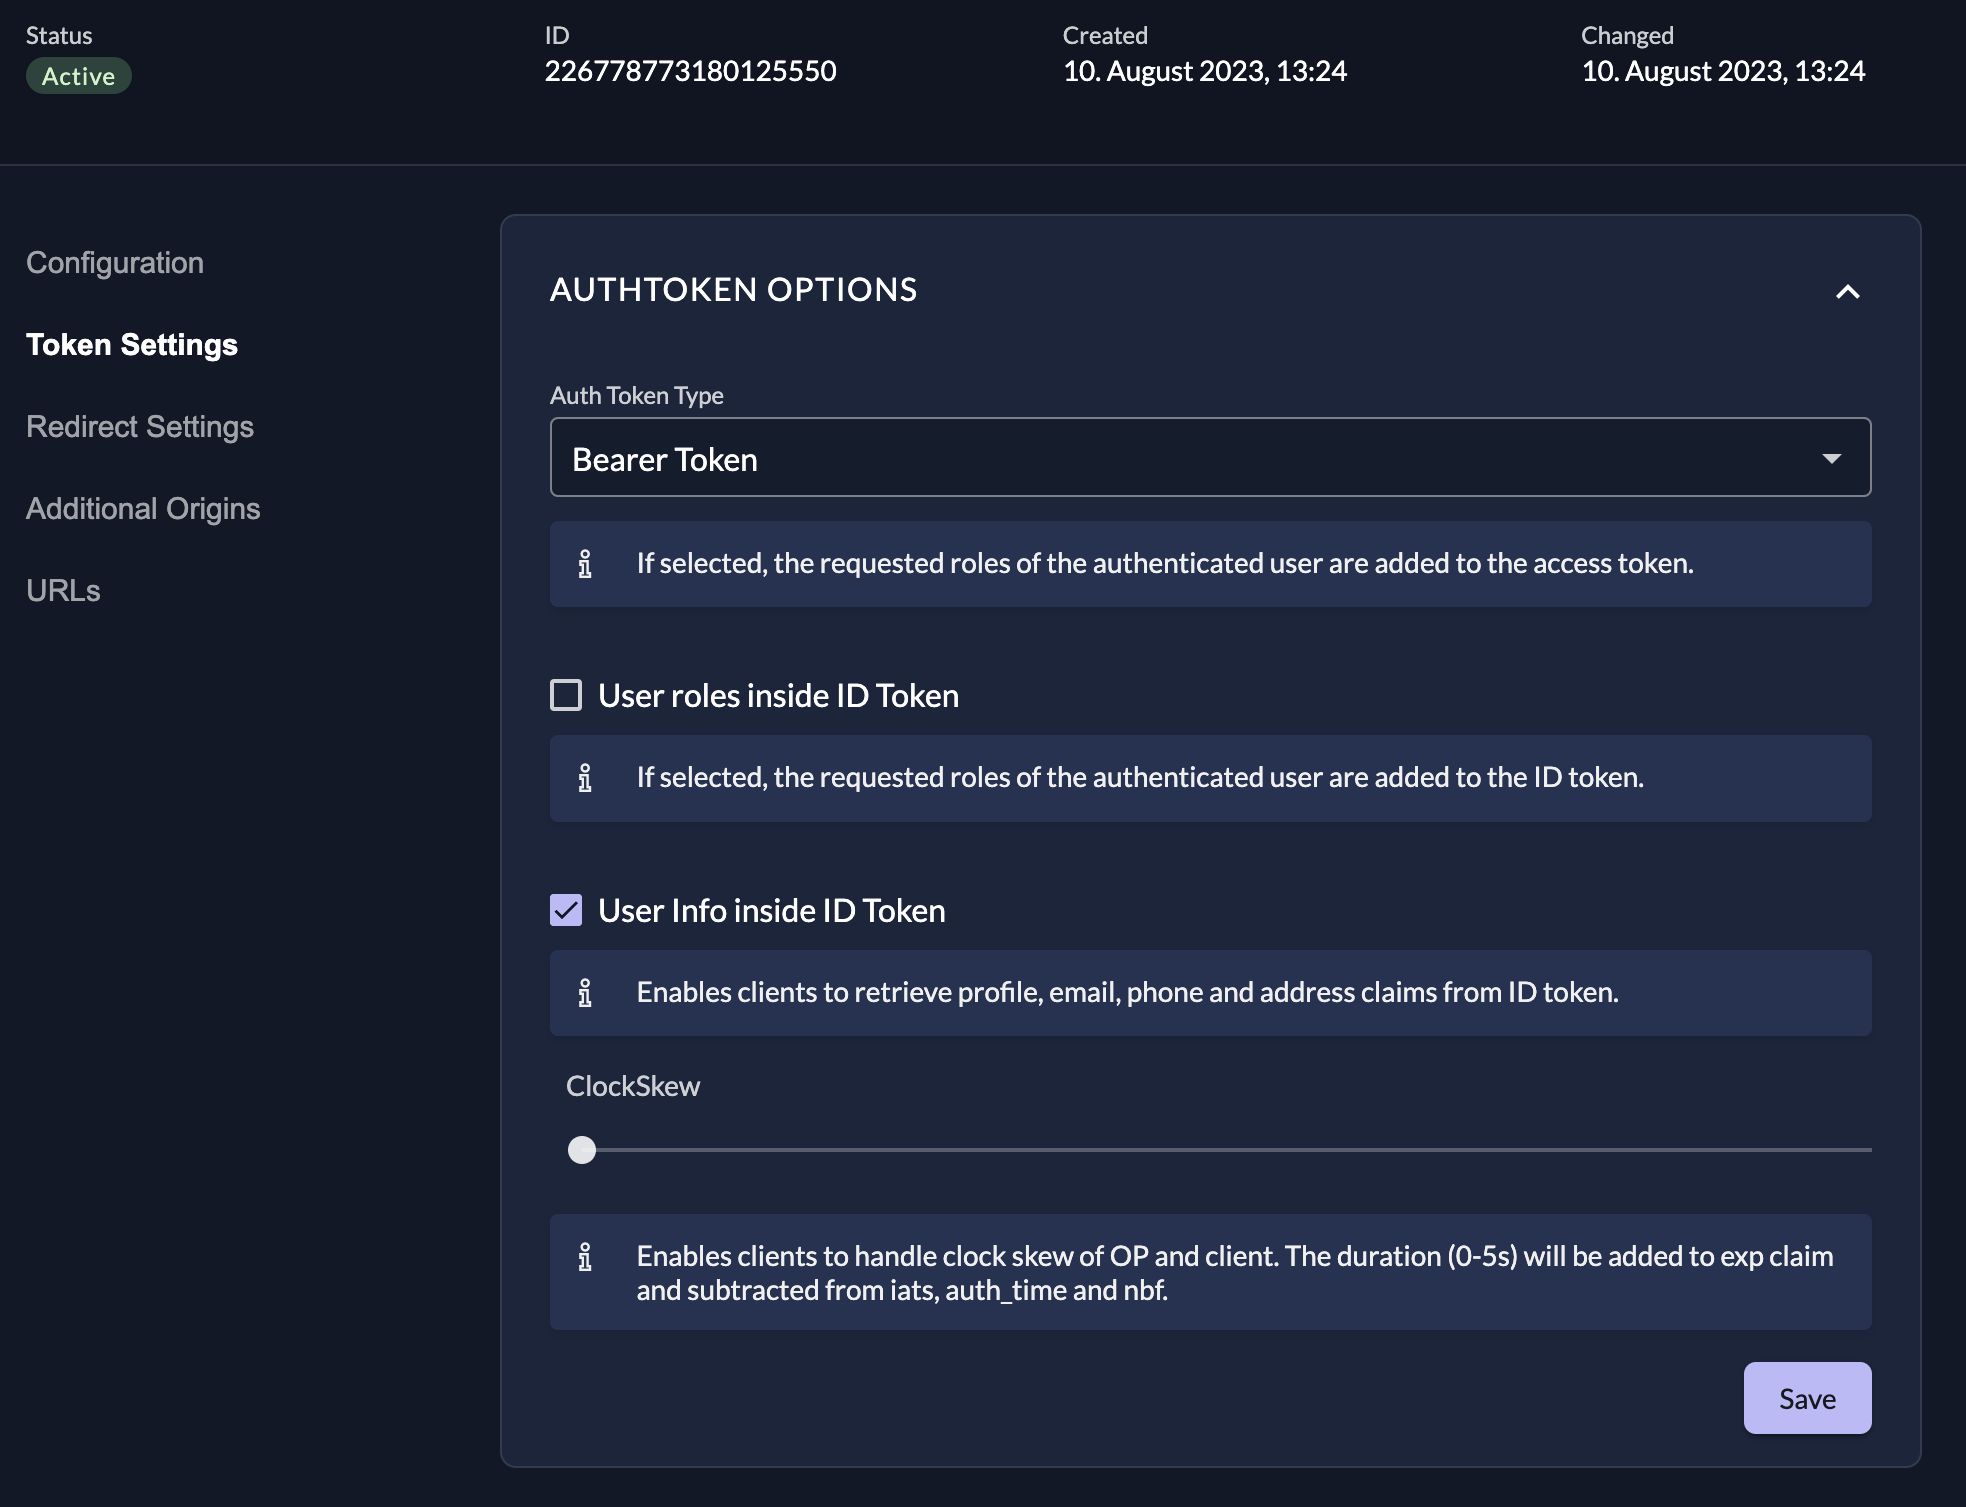
Cloudflare will return an error "User email was not returned. API permissions are likely incorrect". Enable to send the user information inside the token on your application settings.
## Configure Cloudflare Zero Trust Authentication
1. On the Cloudflare dashboard go to Zero Trust, click settings, and then select "Authentication"
2. Add a new login method with the type "OpenID Connect"
3. Fill in the required information. Check the discovery endpoint of your instance `https://${CUSTOM_DOMAIN}/.well-known/openid-configuration` for the urls. As mentioned in the Cloudflare docs the Certificate Url is jwks_uri.
4. Disable PKCE (Cloudflare requires a client secret for PKCE, which is currently not supported)
5. Add the following claims: "openid", "profile", "email"
6. Test the connection
### Example settings
```json
{
"config": {
"client_id": "",
"client_secret": "",
"auth_url": "https://${CUSTOM_DOMAIN}.zitadel.cloud/oauth/v2/authorize",
"token_url": "https://${CUSTOM_DOMAIN}.zitadel.cloud/oauth/v2/token",
"certs_url": "https://${CUSTOM_DOMAIN}.zitadel.cloud/oauth/v2/keys",
"scopes": ["openid", "email", "profile"],
"pkce_enabled": false,
},
"type": "oidc",
"name": "Generic Google"
}
```