---
title: Configure Google as an Identity Provider in ZITADEL
sidebar_label: Google
---
import GeneralConfigDescription from './_general_config_description.mdx';
import Intro from './_intro.mdx';
import CustomLoginPolicy from './_custom_login_policy.mdx';
import IDPsOverview from './_idps_overview.mdx';
import Activate from './_activate.mdx';
import TestSetup from './_test_setup.mdx';
import { ResponsivePlayer } from "@/components/player";
## Open the Google Identity Provider Template
Click on the ZITADEL Callback URL to copy it to your clipboard.
You will have to paste it in the Google Cloud Platform later.

## Google Configuration
### Register a new application
1. Go to the Google Cloud Platform and choose your project: [https://console.cloud.google.com/apis/credentials](https://console.cloud.google.com/apis/credentials)
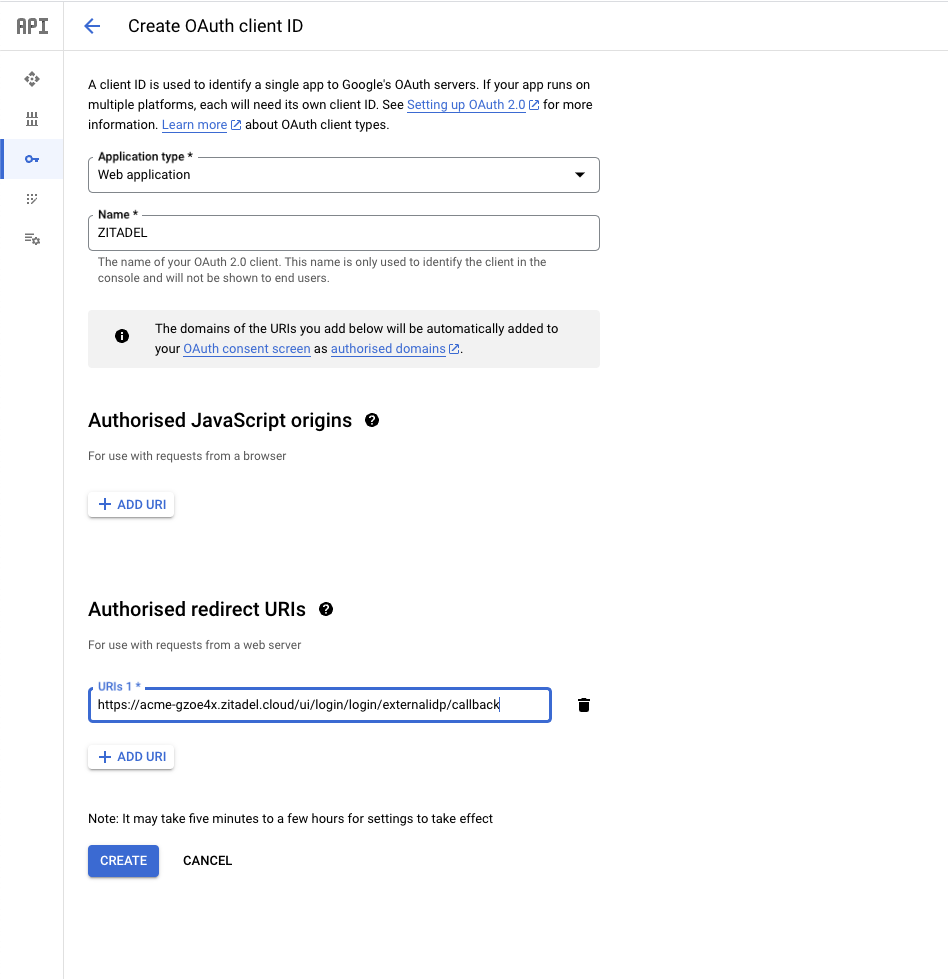
2. Click on "+ CREATE CREDENTIALS" and choose "OAuth client ID"
3. Choose "Web application" as application type and give a name
4. [Paste the ZITADEL Callback URL you copied before](#open-the-google-identity-provider-template) into the authorized redirect URIs
### Client ID and secret
You will need the Client ID and Client secret to configure the Google Identity Provider in ZITADEL.

## ZITADEL Setup
Go back [to the Google provider template you opened before in ZITADEL](#open-the-google-identity-provider-template).
Add the [client ID and secret created before on your Google App](#client-id-and-client-secret).
You can optionally configure the following settings.
A useful default will be filled if you don't change anything.
**Scopes**: The scopes define which scopes will be sent to the provider, `openid`, `profile`, and `email` are prefilled.
This information will be taken to create/update the user within ZITADEL.
ZITADEL ensures that at least the `openid`-scope is always sent.
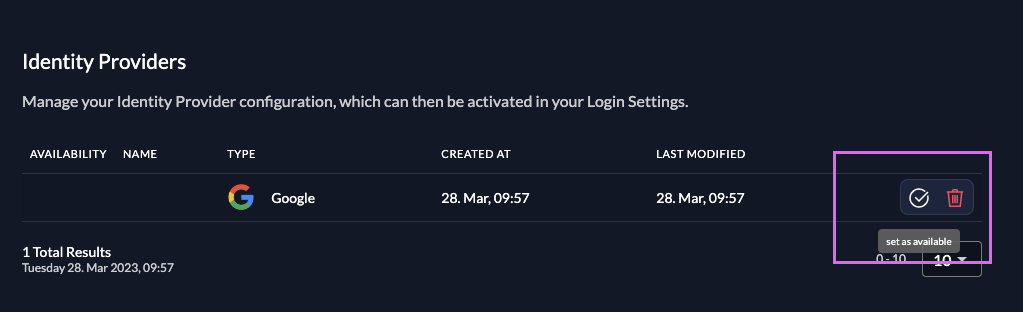
### Activate IdP
### Ensure your Login Policy allows External IDPs
## Test the setup