---
title: Set up Entra ID as a SAML Service Provider in ZITADEL
sidebar_label: Entra ID SAML
---
import GeneralConfigDescription from './_general_config_description.mdx';
import Intro from './_intro.mdx';
import CustomLoginPolicy from './_custom_login_policy.mdx';
import IDPsOverview from './_idps_overview.mdx';
import Activate from './_activate.mdx';
import PrefillAction from './_prefill_action.mdx';
## Entra ID SAML Configuration
You need to have access to an Entra ID Tenant. If you do not yet have one follow [this guide from Microsoft](https://docs.microsoft.com/en-us/azure/active-directory/develop/quickstart-create-new-tenant) to create one for free.
### Register a new enterprise application in Entra
We start setting up the enterprise application.
1. Browse to the [Enterprise App registration menu](https://entra.microsoft.com/#view/Microsoft_AAD_IAM/AppGalleryBladeV2).
2. Search for "SAML Toolkit" and click on the "Microsoft Entra SAML Toolkit" card.
3. Change the name if wanted and click "Create"

### Disable required assignment
To allow all users to sign in using ZITADEL we need to manually disable required assignment:
1. Go to Manage > Properties
2. Set "Assignment required?" to No
3. Hit Save

### Setup SAML
Configure the sign-on method of the app.
1. Go to Manage > Single sign-on
2. Select SAML
3. You will be redirected to the Single Sign-On details page
4. Copy the URL of SAML Certificates > App Federation Metadata Url to your clipboard

## ZITADEL Setup
### Go to the IdP Providers Overview
### Create a new SAML Service Provider (SP)
Now we configure the identity provider on ZITADEL.
1. Set a name like "Microsoft Entra"
2. Paste the previously copied URL into the "Metadata URL"-field. The metadata will automatically be fetched from the provided URL after creation.
3. Select the "SAML_POST_BINDING" as binding
4. Ensure that the "Signed Request"-box is ticked
5. Change the options if needed. Microsoft Entra works out of the box using the pre configured options.
6. Click Create

## Configure Basic SAML Configuration
After you created the SAML provider in ZITADEL, you can copy the URLs you need to configure in your Entra ID application.

1. Go to Microsoft Entra > Manage > Single sign-on
2. Edit the "Basic SAML Configuration"
3. **Identifier (Entity ID)**: Paste the *ZITADEL Metadata URL*.
4. **Reply URL (Assertion Consumer Service URL)**: Paste the *ZITADEL ACS Login Form URL*
5. **Sign on URL**: Paste the *ZITADEL ACS Login Form URL*
6. **Logout URL**: Paste the *ZITADEL Single Logout URL*
7. Optionally, you can enable the "Federated Logout", which will log out the user from Entra ID once they terminate their session in ZITADEL using the OIDC End Session Endpoint.
8. Click Save
You can ignore the ZITADEL ACS Intent API URL for now.
This is relevant if you want to [programmatically sign users in at ZITADEL via a SAML Service Provider](/guides/integrate/login-ui/external-login).

## Enable the Microsoft Entra Button in ZITADELs Login Page
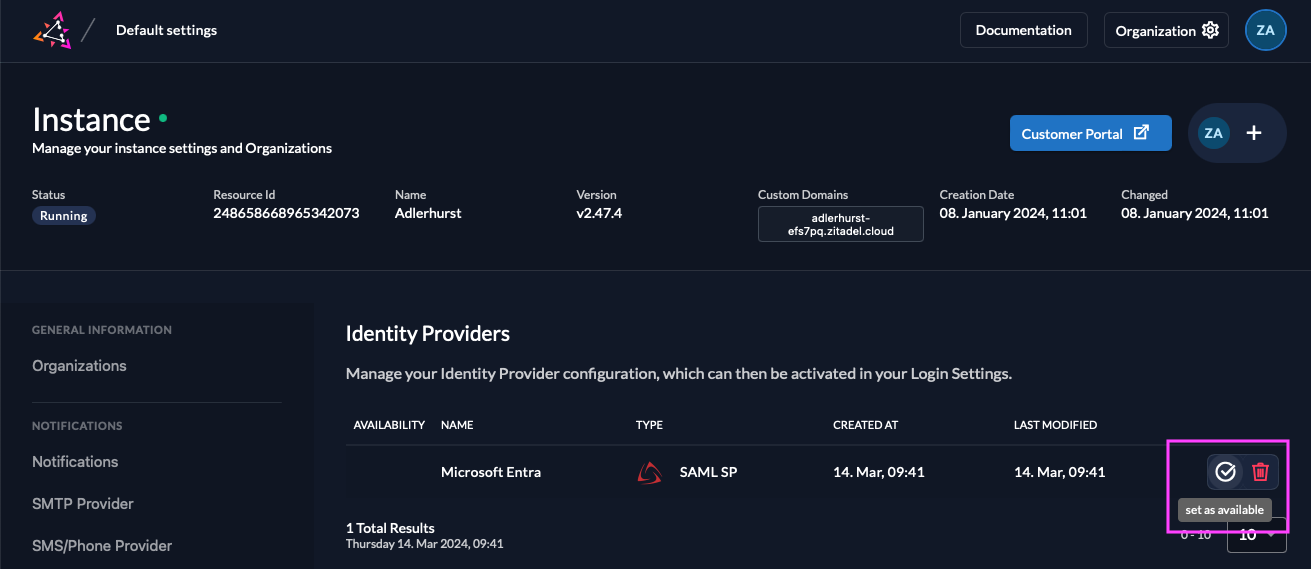
Go back to ZITADEL and activate the IdP.
### Activate IdP
### Ensure your Login Policy allows External IDPs
## Test the setup
To test the setup, use incognito mode and browse to your login page.
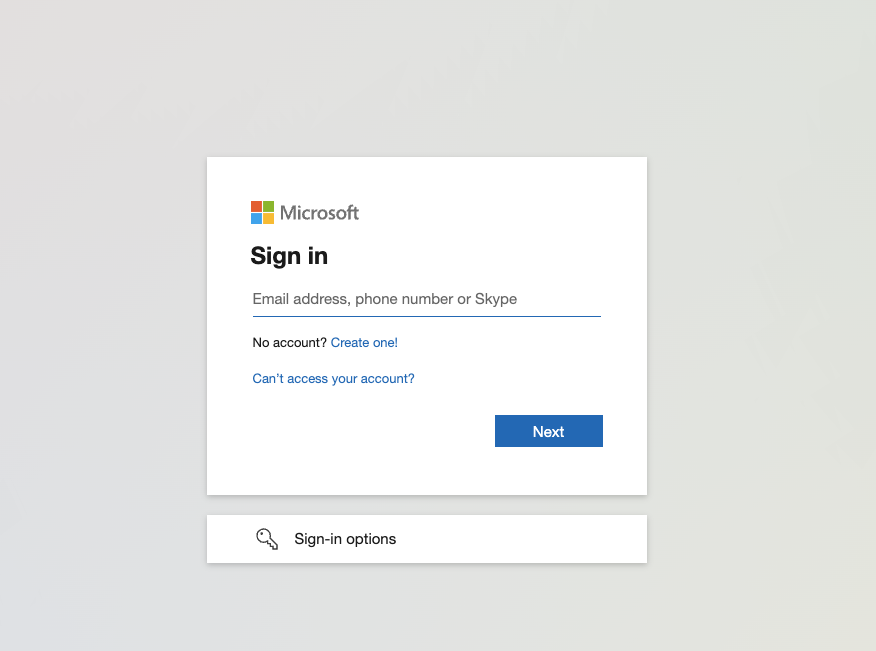
You see a new button which redirects you to Microsoft Entra screen.
By default, ZITADEL shows what you define in the default settings.
If you overwrite the default settings for an organization, you need to send the organization scope in your auth request.

Click **Microsoft Entra**
### Add Action to map user attributes
```js reference
https://github.com/zitadel/actions/blob/main/examples/entra_id_saml_prefil_register_form.js
```